구글 API를 이용하기 위해서는 우선 로그인 API를 호출하는 클라이언트 ID를 만들어야합니다.
WEB 구글 로그인 링크 : https://developers.google.com/identity/sign-in/web/sign-in#before_you_begin
사이트에 접속해서 보면 Configure a project가 있습니다.
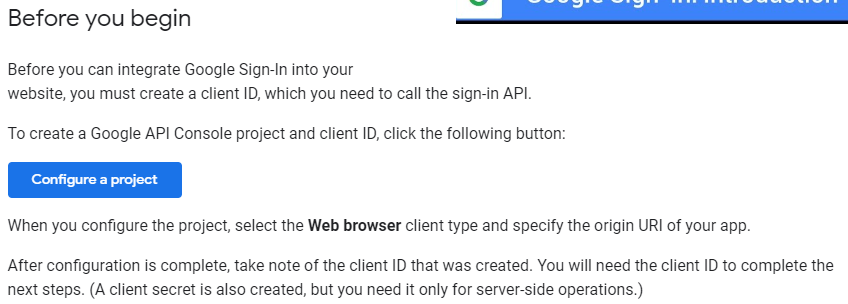
Configure a project 를 클릭하여 프로젝트를 등록해 줍니다.
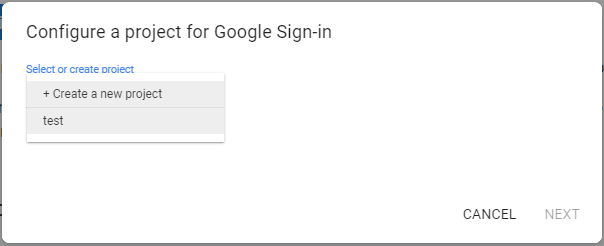
새로 만들어 주어도 되지만 테스트로 해볼것이기 때문에 test로 하겠습니다.
그 다음 Web browser을 선택해주고 웹 URL을 적어줍니다.
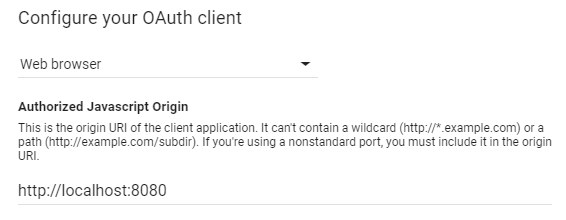
만들면 아래와 같이 클라이언트 ID와 클라이언트 시크릿이 나옵니다.

클라이언트 ID가 필요하니 복사해 두시거나 다운로드 해두셔야 합니다.
이제 구글 로그인버튼을 만들어야 합니다.
1. 메타 태그 추가
<meta name = "google-signin-client_id"content = " 복사한 클라이언트 ID ">위 태그는 <head></head> 태그 사이에 추가해 주시면 됩니다.
2. 라이브러리 추가
<script src="https://apis.google.com/js/platform.js" async defer></script>3. 로그인 버튼 추가
<div class="g-signin2" data-onsuccess="onSignIn"></div>
이대로 만드시면 아래와 같은 버튼이 생깁니다.

프로필 정보 얻기
function onSignIn(googleUser) {
  var profile = googleUser.getBasicProfile();
  console.log('ID: ' + profile.getId()); // Do not send to your backend! Use an ID token instead.
  console.log('Name: ' + profile.getName());
  console.log('Image URL: ' + profile.getImageUrl());
  console.log('Email: ' + profile.getEmail()); // This is null if the 'email' scope is not present.
}
사용자 로그아웃
<a href="#" onclick="signOut();">Sign out</a>
<script>
  function signOut() {
    var auth2 = gapi.auth2.getAuthInstance();
    auth2.signOut().then(function () {
      console.log('User signed out.');
    });
  }
</script>
이번 예제에서는 구글 로그인 API 신청부터 버튼 만드는 예제를 만들어 보았습니다.
https://developers.google.com/identity/sign-in/web/sign-in#before_you_begin 의 사이트에 영어로 설명이 되어있지만 짧고 간단하게 한글로 만들어 보았습니다.
'프로그래밍 > API' 카테고리의 다른 글
| [JAVA]변경된 기상청 날씨 API (동네예보, 중기예보) (1) | 2020.04.07 |
|---|---|
| [구글 로그인 API] 자바 스프링 Backend 인증 (0) | 2019.11.25 |
| 카카오맵 API - 사용 방법[웹] (4) | 2019.11.15 |
| 웹 사용자 위치 API (Geolocation API) (0) | 2019.10.29 |
| [JAVA] 기상청 날씨 API - 중기예보(중기육상예보조회) (4) | 2019.08.27 |


